
How to integrate conversion tracking with Voluum
Step #1 - Create your postback URL
Log in to your OnClicka Advertiser Account, and click the Tracking tab.
Your OnClicka postback URL is created automatically.
This is your unique token. You will need it in the Step #2.
Step #2 - Add OnClicka as your traffic source on Voluum
Log in to your Voluum account, choose the Traffic Sources tab, and then click the New Traffic Source green button.
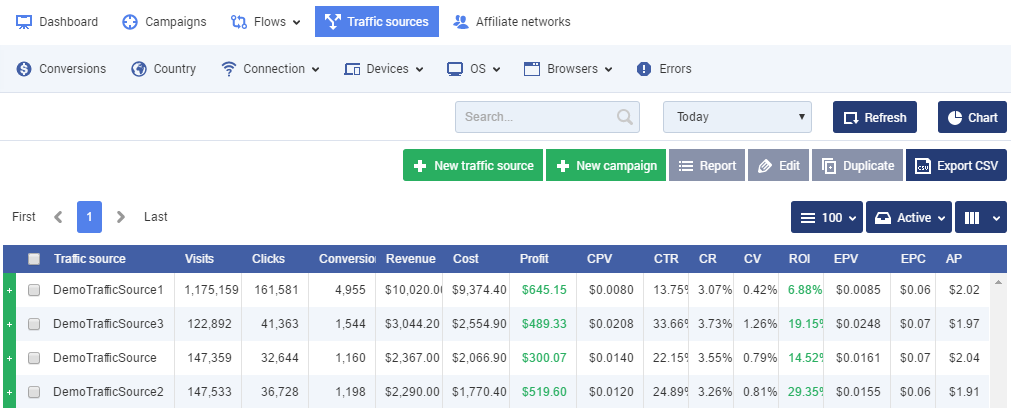
Select OnClicka from the list and click Next. Voluum will pre-populate all the necessary traffic source settings.
Please note that different ad formats have different tokens. You can remove unnecessary tokens and add the ones you need based on your ad format.
To do this, study the article that says which tokens support different advertising formats. These tokens will be used in the Campaign URL in step #4.
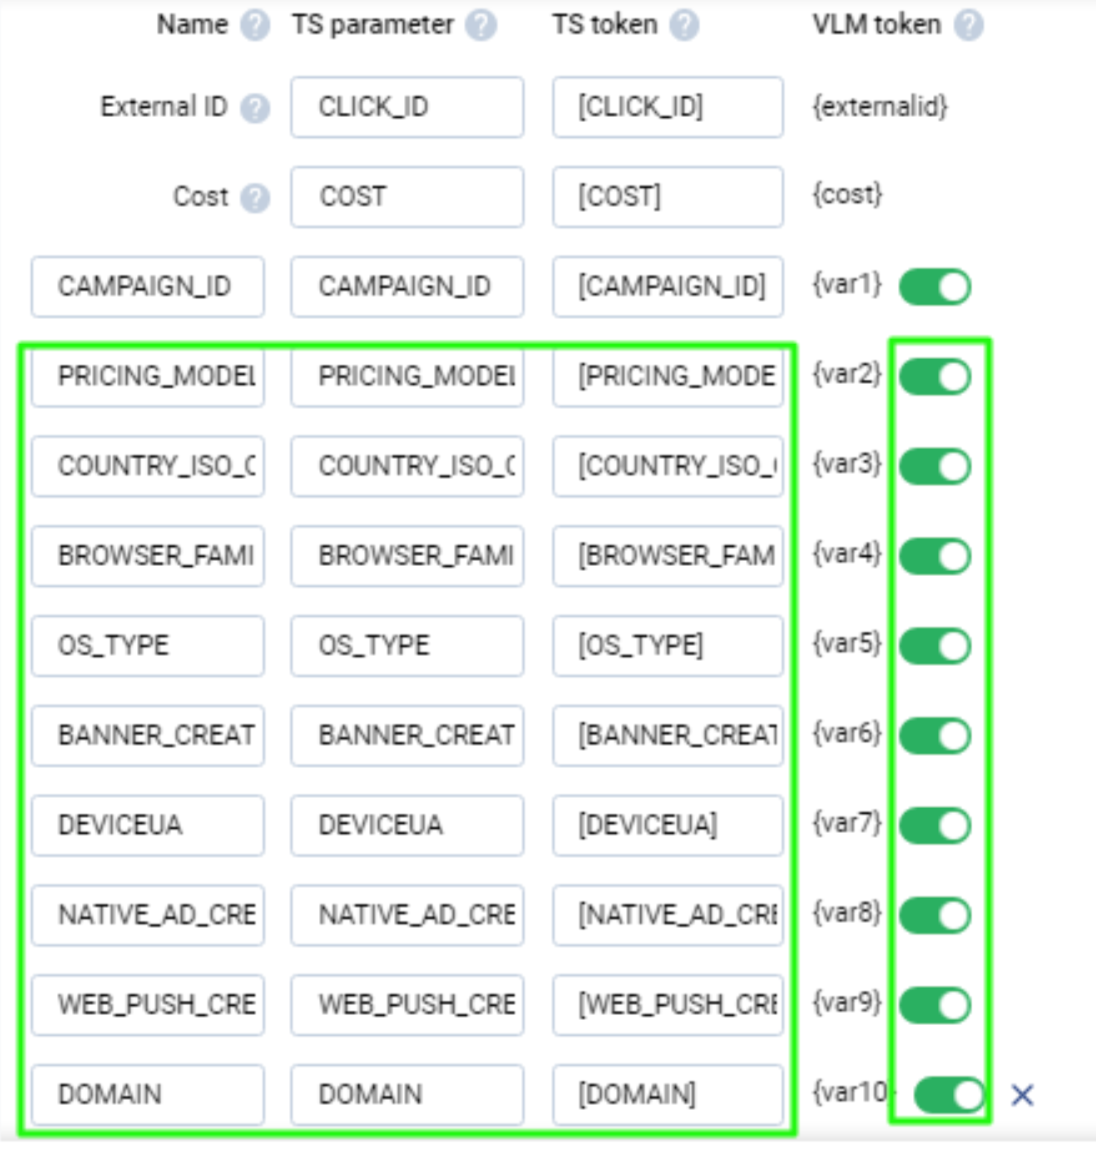
Don’t forget to change “REPLACE” to your unique token from the postback URL that we created in Step #1.
After completing all replacements, click Save to store your OnClicka settings in Voluum (if you want to make any changes - select your traffic source from the list and click the Edit button).
Step #3 - Generate the postback URL on Voluum
To get notified about conversions from the affiliate network you need to generate the Postback URL on Voluum containing the "CLICK ID" and add it to the affiliate network's panel.
Please refer to the Voluum Knowledge Base to find out how to add affiliate networks and offers and generate the postback URLs.
Once you get your Voluums’ Postback URL, paste it to your affiliate network's panel to pass data about conversions from the affiliate network to Voluum.
If you are experiencing any problems - contact your affiliate network support.
To initiate a campaign, you have to create an Offer and a Landing accordingly. Please refer to the manuals below to get more information regarding the installation process.
Landing settings (optional)
Step #4 - Set up the Campaign on Voluum
Choose the New Campaign button (visible in all report tabs). The New campaign form is divided into two tabs: General and Destination. The first tab is used to provide general information about your campaign, and the second one specifies where the traffic should be directed.
Select "OnClicka" as the Traffic source and fill out all other mandatory fields.
Pay attention to the cost model.
For CPC campaigns from OnClicka, an automatic mode of determining the cost in Voluum is available.
In the case of CPM, when using the automatic mode, you will need to divide the cost indicator from the tracker by 1000.
Choose Path Destination and add Offers or Offers and Landers
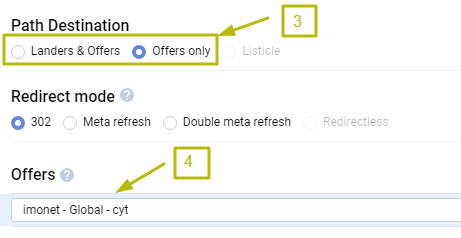
Once you’ve finished click on Save. This will create a new campaign and also generate the Campaign URL needed to direct traffic.
Now you can set up your campaign in OnClicka!